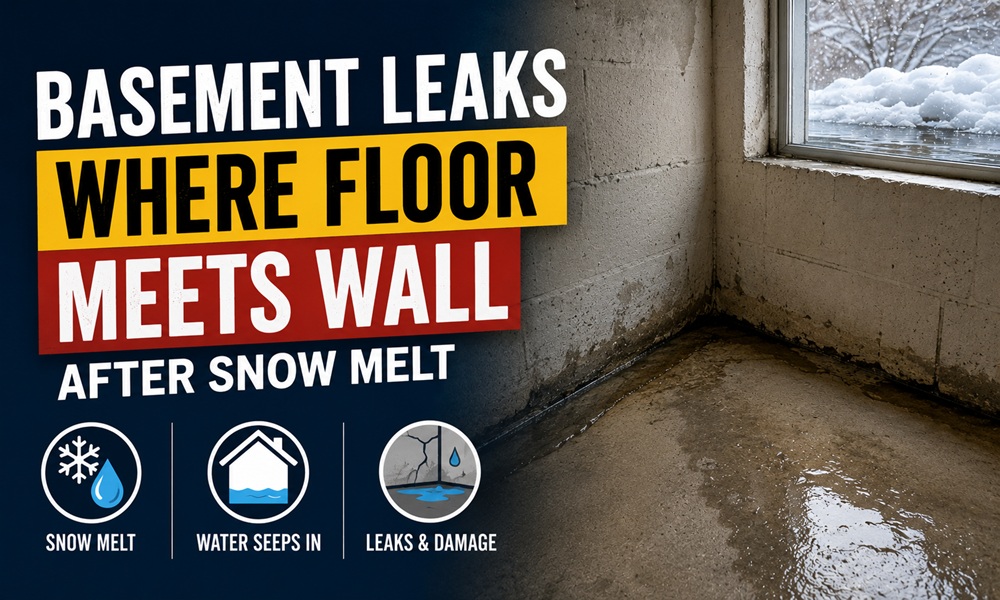
Basement Leaking Where the Wall Meets the Floor After Snowmelt (the Cove Joint Fix)
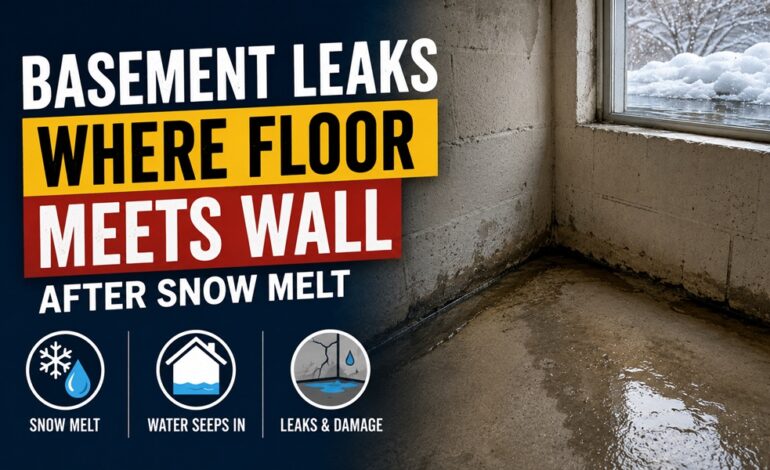
A wet line that appears along the base of your basement walls every spring is one of the most misdiagnosed problems in the house. It looks like a crack to be sealed, so homeowners reach for caulk or hydraulic cement, watch it work for a season, and then watch it leak again. The reason is physics: the water is being pushed in by pressure, and a surface seal does nothing to relieve that pressure. Understanding what the cove joint is and why snowmelt drives water through it is the key to choosing a fix that actually lasts. This guide explains the science and lays out the solution in order from cheapest to most involved.
What the cove joint is
When a basement is built, the footing is poured first, then the walls are built on the footing, and finally the floor slab is poured against the already-cured walls. The slab and walls never fully bond, leaving a small gap at the perimeter called the cove joint. It looks like a straight line where the floor meets the wall — not a crack. Sealed and dry, it’s a non-issue. Under pressure, it becomes the path of least resistance for water, which is why a leak there is about water pressure, not a structural flaw in the joint.
Why snowmelt is worse than summer rain
Summer rain often drains away quickly. Snowmelt is different: it saturates the soil slowly and for an extended period, so groundwater stays high and hydrostatic pressure builds and stays built. Saturated soil can exert over 600 pounds per square foot at about 10 feet of depth — and water weighs roughly 8 pounds per gallon, so the column of water in the ground presses relentlessly against the walls and up under the slab. Pressure is greatest at the bottom of the wall, which is exactly why the cove joint at the base leaks first.
Detail many homeowners miss: the freeze-thaw cycle compounds it. Meltwater seeps into existing hairline cracks, refreezes, expands, and widens them a little more each winter — so a cove-joint leak that shows up after one thaw tends to get worse every year if the pressure isn’t relieved. What looks like a stable, once-a-year nuisance is usually a slowly worsening one.
The solution ladder — from cause to symptom
Work from the outside in. The higher up this ladder you can solve it, the cheaper and more permanent the fix.
| Tier | Action | What it addresses |
| 1. Exterior water management | Extend downspouts; re-grade to slope away (6” over 10 ft); clear gutters; fix window-well drainage | Reduces how much water reaches the foundation in the first place |
| 2. Pressure relief (interior) | Install an interior perimeter / French drain at the cove joint, routed to a sump pump | Gives water a controlled path instead of forcing it through the joint |
| 3. Active removal | Reliable sump pump (with battery backup for storms/outages) | Carries collected water up and out, away from the foundation |
| 4. Last resort | Exterior excavation and waterproofing membrane | Stops water at the wall when interior methods aren’t enough |
Most homes are solved at Tiers 1 through 3. Start at the top: a weekend of gutter extensions and regrading is free or cheap and sometimes quiets a minor cove-joint leak on its own. If water still comes through, an interior drain to a sump is the workhorse fix that handles the pressure directly.
Why “just seal it” backfires
The instinct is to caulk or hydraulically cement the joint. But sealing the cove joint from inside doesn’t reduce the pressure outside — the water simply pushes through the sealant or finds the next weak point, and where hydrostatic pressure is high it can do so quickly. Worse, a tight seal can build pressure under the slab and divert moisture elsewhere. The professional consensus is clear: move the water or relieve the pressure; don’t try to dam it. An interior French drain that captures cove-joint water and channels it to a sump treats the actual problem instead of fighting it.
Catch it before it gets expensive
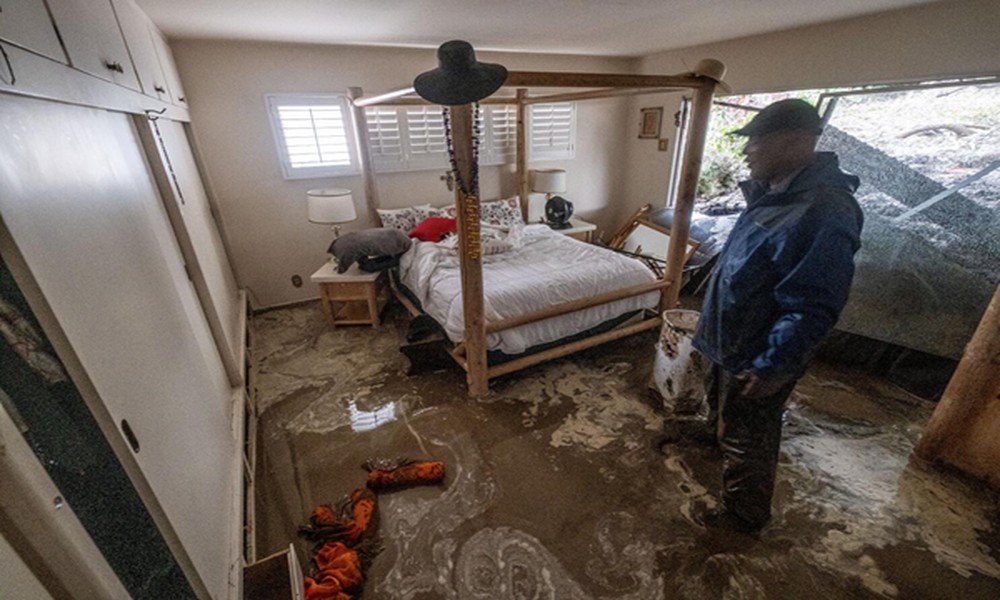
Inspect the cove joint every few months, especially after heavy rain or a thaw. Look for dampness, water stains, mold, or pooling where the floor meets the wall. Early seepage is cheap to manage; ignored, the same pressure that wets the joint can crack the slab, bow walls, and ruin a finished basement’s drywall, flooring, and stored belongings. If you have or plan a finished basement, address cove-joint seepage before you cover the walls — retrofitting a drain behind finished walls is far costlier than installing it first.
Frequently asked questions
| Why is my basement leaking after snowmelt but not in summer rain?
Snowmelt saturates the soil slowly and for a long time, keeping the water table high and hydrostatic pressure elevated. Summer rain usually drains faster, so the pressure that pushes water through the cove joint never builds the same way. Can I just seal the cove joint myself? Sealing from inside is typically a temporary fix at best. Under hydrostatic pressure the water pushes back through and can build pressure under the slab. Relieving the pressure with an interior drain and sump is the lasting solution. Is cove joint seepage a structural emergency? Not at first, but the same pressure can widen cracks, bow walls, and damage the slab over time — and freeze-thaw makes it worse each winter. Address it early to avoid far costlier repairs. Do I need to dig up the outside of my foundation? Often no. Start with exterior water management (gutters, grading) and an interior French drain to a sump. Exterior excavation and membrane waterproofing is a last resort when interior methods can’t keep up. How much does an interior French drain cost? It varies widely with basement size and access, but an interior perimeter drain to a sump is typically a multi-thousand-dollar job — still far less than repeatedly replacing a flooded finished basement, which is why it is the standard lasting fix. |