Water Coming In Around Pipes in Your Basement? Sealing Utility Penetrations
| Quick answer
Water entering around a pipe, conduit, or utility line is leaking through the gap between the pipe and the foundation — a weak point that widens as the house settles and freeze-thaw cycles work on it. Polyurethane injection is the most durable interior fix because it expands into hairline gaps and stays flexible; hydraulic cement is a quick, low-cost patch but can crack and fail over time; and a link-seal (mechanical rubber seal) is the gold standard when the penetration is accessible. |
When water shows up at the exact spot where a pipe passes through your foundation, the diagnosis is usually straightforward — but the repair people reach for first is often the one most likely to fail. Builders fill these gaps with whatever is cheap and fast, and over years of settling and freeze-thaw those fillers crack and let water through. The lasting fix depends on choosing the right material for a gap that will keep moving. This guide compares the real options, walks through sealing a penetration from the inside, and explains why the water management outside the wall matters as much as the seal itself.
Where the water is really coming from
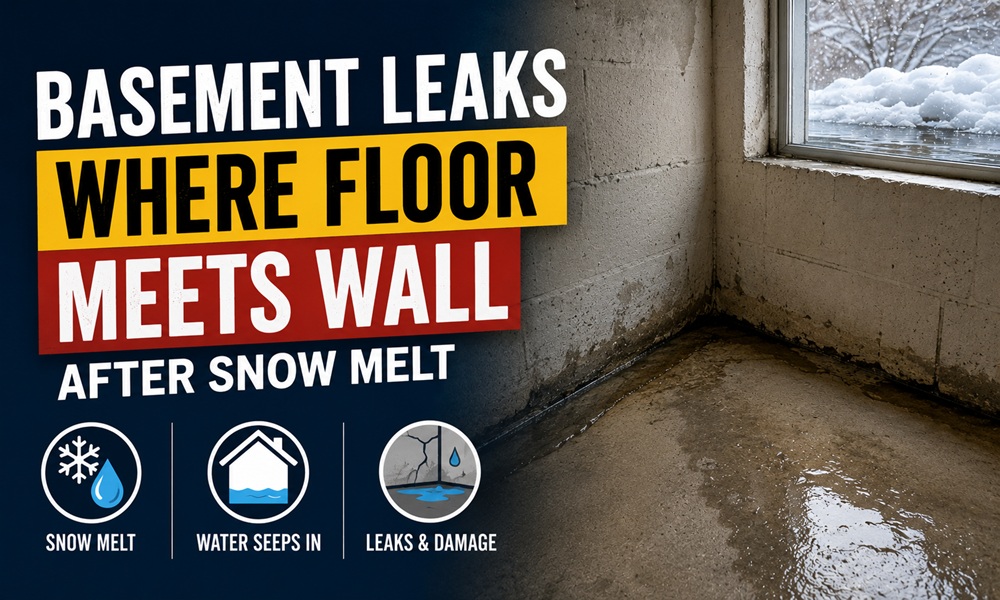
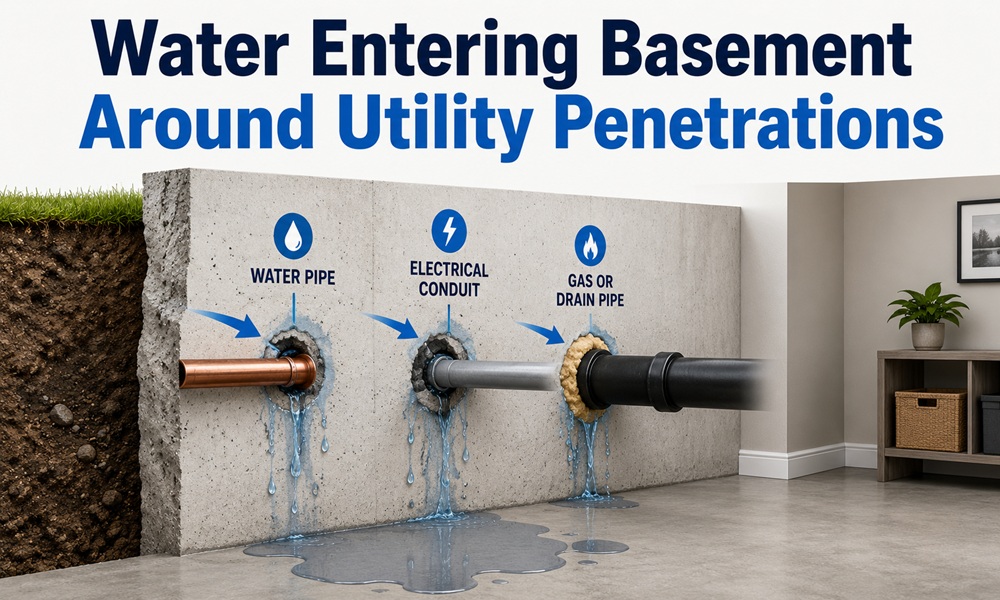
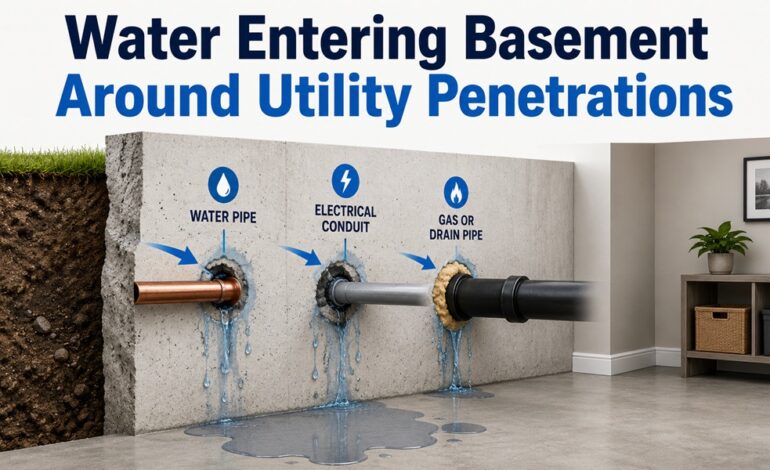
When utilities — sewer, water main, well line, gas, oil, electrical conduit, cable — were installed, holes were cored through the foundation and the pipes fed through. The gap around each pipe is one of the weakest spots in the whole wall, like a hole in a dam. Builders typically fill it with hydraulic cement, caulk, or oakum, but those materials shrink and crack, and as the home settles and winters freeze and thaw, a hairline gap can grow into a quarter-inch opening that actively leaks. Tell-tale signs: water trickling down the wall at a pipe, dark stains around the penetration, puddles directly under the pipe, efflorescence (white mineral crust), or mold at the entry point.
Bonus reason to seal it: these gaps are also a hidden radon and soil-gas pathway. Sealing them is part of a complete radon-reduction strategy, not just water control — so the same repair that keeps your basement dry can also improve your air quality.
Compare the sealing methods
| Method | How it works | Pros | Cons |
| Hydraulic cement | Packed into a chiseled-out gap; sets fast and slightly expands | Cheap, DIY-friendly, bonds to damp concrete | Rigid; can crack and fail as the house moves; water can find a path behind it |
| Polyurethane injection | Resin injected via ports; expands up to ~20× to fill hairline gaps, stays flexible | Works in wet conditions, flexes with movement, fills tiny cracks, long-lasting | Best done with proper ports/technique; pro injection for serious leaks |
| Epoxy | Rigid structural bond around the pipe | Very strong | Inflexible; “welds” the pipe so it can never be removed; can crack with movement |
| Link-seal (mechanical) | Rubber links bolt-tightened between pipe and a cored sleeve | Permanent, re-enterable, the most reliable when accessible | Needs the right sleeve/clearance; usually new or fully exposed penetrations |
Field reality often left out of articles: the long-running debate over hydraulic cement is mostly about installation, not the product. Cement fails prematurely when it’s mixed wrong or troweled onto a dirty, dry surface. Clean fresh powder, proper mixing, and a clean, damp surface make it last far longer — but on a wall that keeps moving or under steady hydrostatic pressure, a flexible polyurethane seal is the safer long-term choice.
How to seal a leaking penetration (interior)
- Find the source and stop any active flow if it’s a plumbing leak. For groundwater intrusion, you can work even while it’s damp if you use polyurethane.
- Clean the area with a wire brush to remove loose concrete, old failed sealant, dirt, and cobwebs — sealant won’t bond to debris.
- For a hydraulic-cement patch: chisel the gap slightly wider/deeper (about ½ inch), optionally apply an acrylic bonding agent, then pack cement in tightly so it contacts both the pipe and the wall. Work fast — it sets quickly — and for deep gaps fill the back two-thirds with foam first to save material.
- For polyurethane injection: set injection ports in epoxy paste along the gap, then inject the resin so it expands through the full wall thickness and into any hairline cracks. (Purpose-built pipe-penetration kits include ports, resin, and instructions.)
- Where code or access allows, sleeve the pipe — a pipe two trade sizes larger run through the wall — and seal the annular space with foam or a link-seal for a re-enterable, watertight result.
- Address the outside too if leaks persist: re-grade so soil slopes away, fix gutters and downspouts, and seal or excavate the exterior penetration for belt-and-suspenders protection.
Don’t skip the water management
Sealing the gap treats the symptom; managing water treats the cause. Before or alongside the seal, redirect roof and surface water away from the foundation. Many “leaking penetration” problems quiet down dramatically once gutters discharge far from the house and the grade slopes away — the gap only leaks when there’s standing water pressing against it. If the soil around that pipe stays dry, even an imperfect seal often stays dry too.
When to call a professional
A single accessible penetration with a minor leak is a reasonable DIY job with a hydraulic-cement or injection kit. Call a waterproofing pro when the leak is heavy or under pressure, when multiple penetrations leak at once (a sign of a broader water-table problem), when the wall is cracked or bowing, or when you want a warrantied polyurethane injection on a foundation you cannot easily access. A pro can also confirm whether the real issue is the penetration or a rising water table that needs drainage.